Turn Your Old Laptop into a Second Screen: A Guide to Using it as an Extended Monitor
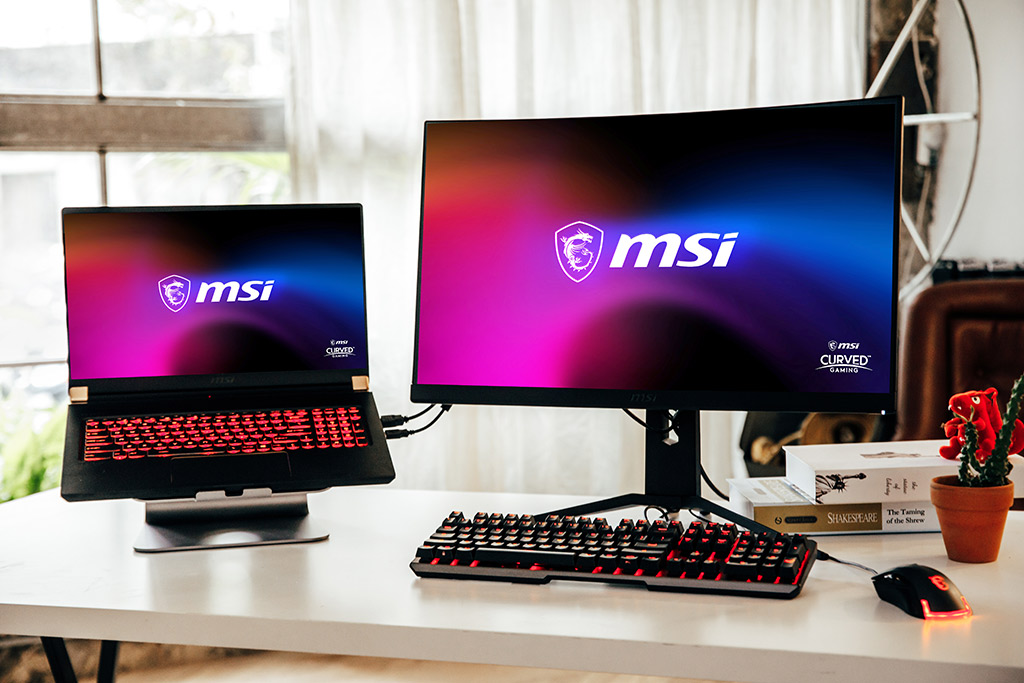
Do you have an old Windows laptop gathering dust in a corner? Why not repurpose it as an extended monitor for your PC? This can be a great way to increase your productivity or enjoy a larger workspace without having to buy a new monitor. In this blog, we’ll explore how to use your old Windows laptop as an extended monitor for your PC.
Step 1: Check your laptop’s compatibility
Before you start, it’s important to check that your laptop is compatible with the software you plan to use. Many of the available software solutions are compatible with Windows 7 or newer, but some may only work with newer versions of Windows. Additionally, some solutions may require specific hardware features, such as a dedicated graphics card.
Step 2: Choose your software
There are several software solutions available that allow you to use your laptop as an extended monitor for your PC. Some popular options include:
- MaxiVista: This software is compatible with Windows 7, 8, and 10, and offers support for up to four additional monitors, remote control capabilities, and audio and video streaming.
- spacedesk: This software is compatible with Windows 7 and higher, including Windows Server editions. It primarily focuses on providing an additional monitor for your PC and does not include advanced features like remote control.
- TeamViewer: This software is primarily used for remote access and control, but it can also be used to share your screen across multiple devices, including using your laptop as an extended monitor.
- Splashtop: This software offers remote access and support features, as well as the ability to use your laptop as an extended monitor.
Step 3: Download and install the software
Once you’ve chosen the software you want to use, download and install it on both your laptop and your PC. Follow the prompts to set up the software and establish a connection between the two devices.
Step 4: Configure the connection
Once the connection is established, you may need to configure it to use your laptop as an extended monitor. This will depend on the software you’re using, but in general, you can usually access the display settings on your PC and select “Extend desktop” to enable the extended monitor.
Step 5: Start using your laptop as an extended monitor
Congratulations, you’re now ready to start using your laptop as an extended monitor for your PC! Depending on the software you’re using, you may be able to drag windows and applications between the two screens, or you may need to configure the layout of the screens using the display settings.
Conclusion
Using your old Windows laptop as an extended monitor for your PC can be a great way to increase your productivity or enjoy a larger workspace without having to buy a new monitor. By choosing the right software and following the steps above, you can repurpose your old laptop and get more out of your computer setup.


